
Off-road Light Types for 4×4 Adventures and Overlanding
Long gone are the days of struggling down a trail after dark with a couple of incandescent lights that produce fewer lumens than a bargain bin flashlight. However, properly illuminating the trail at night takes more thought than just strapping as many lights as you can onto your rig.
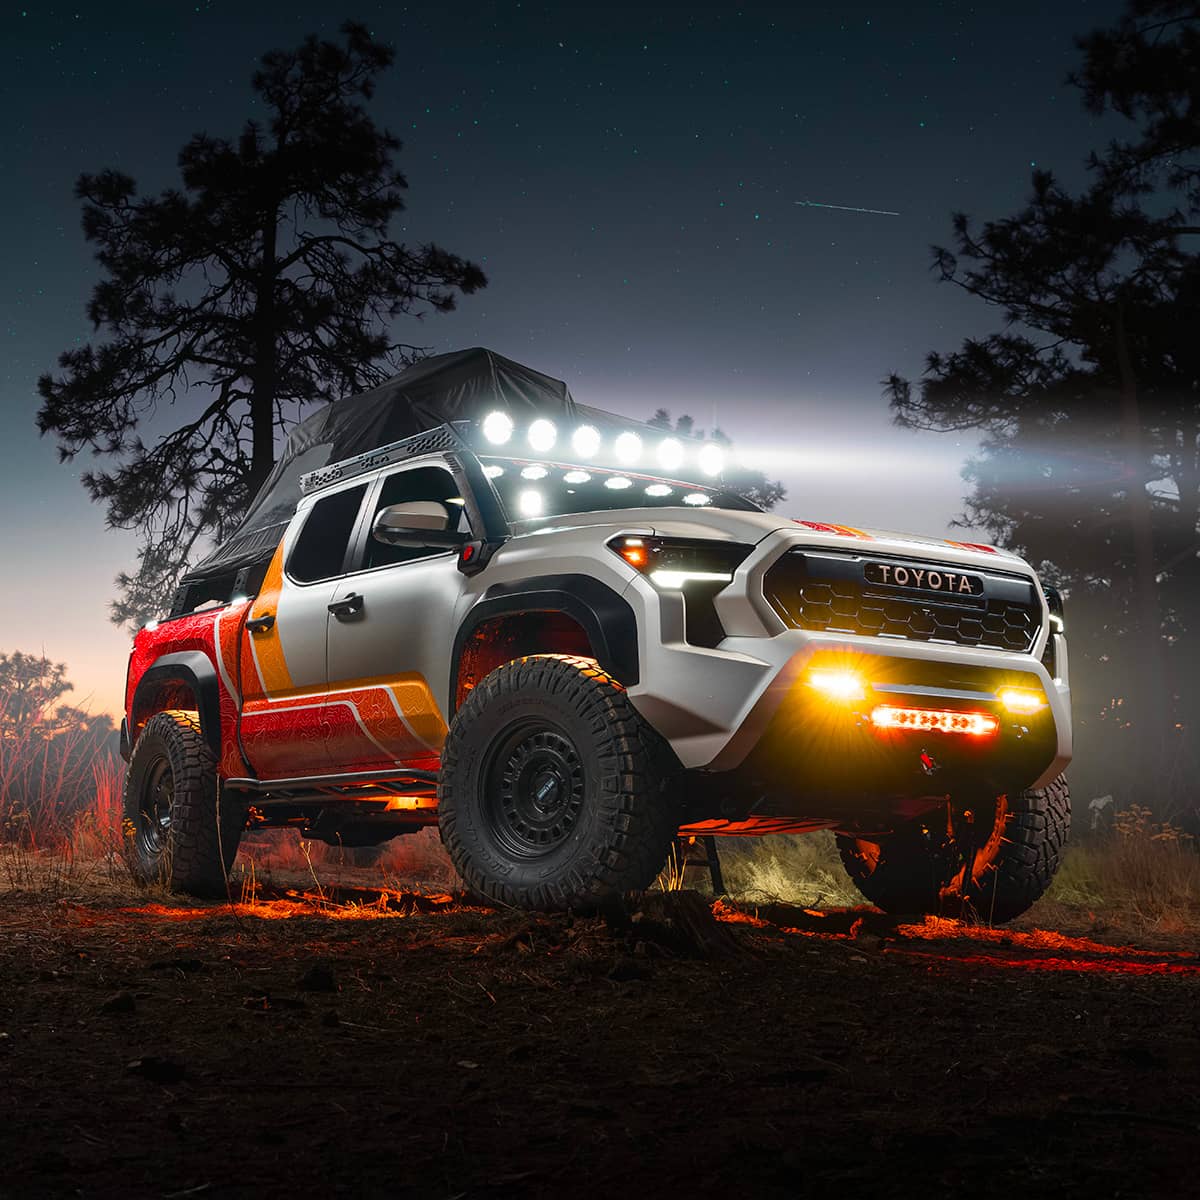
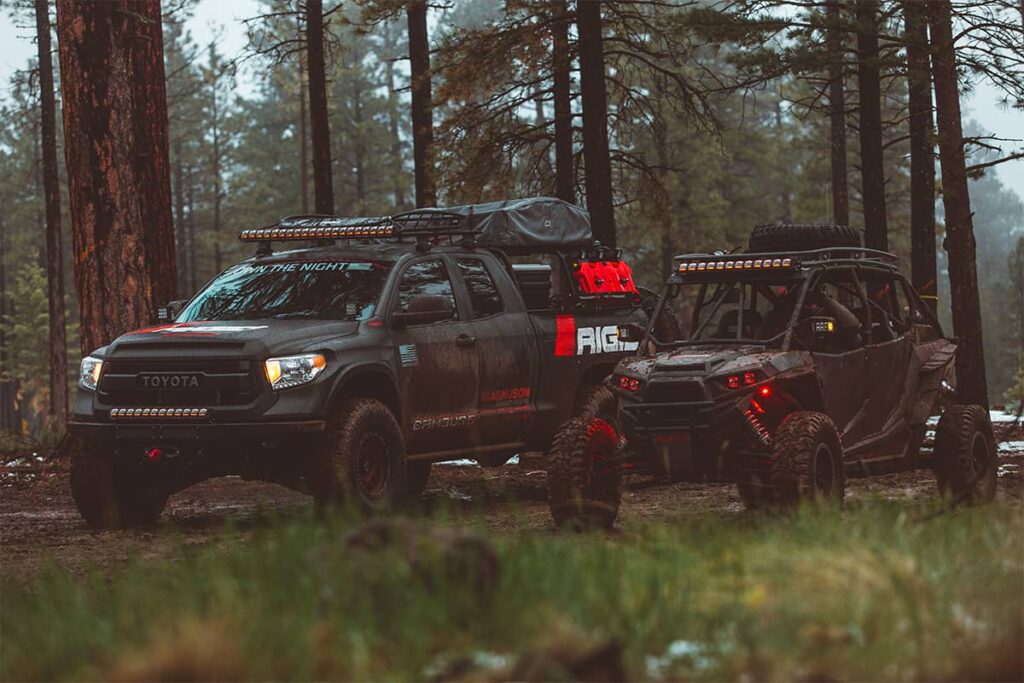
Nearly every off-road build we feature on Offroadium has a long list of aftermarket LED lights. While this may look like some redundant stuff to a beginner, as you get out and start experiencing nighttime driving on trails, you realize that without those lights you just don’t see important things. These lights are essential to either overcome obstacles on your way or work around your rig at the campsite.
With so many examples of off-road light combinations illustrated in our build reviews, the idea of putting together a guide dedicated to off-road lights was in the air for our team. Below we will provide our observations as well as professional insights from the guys over at Rigid Industries, who were kind enough to break down some technical aspects for us.
Key takeaways:
- Speed and the type of terrain will heavily influence the type of lights we need
- Each type of lights serves a certain function
- A mounting location depends on the type of a light you want to use
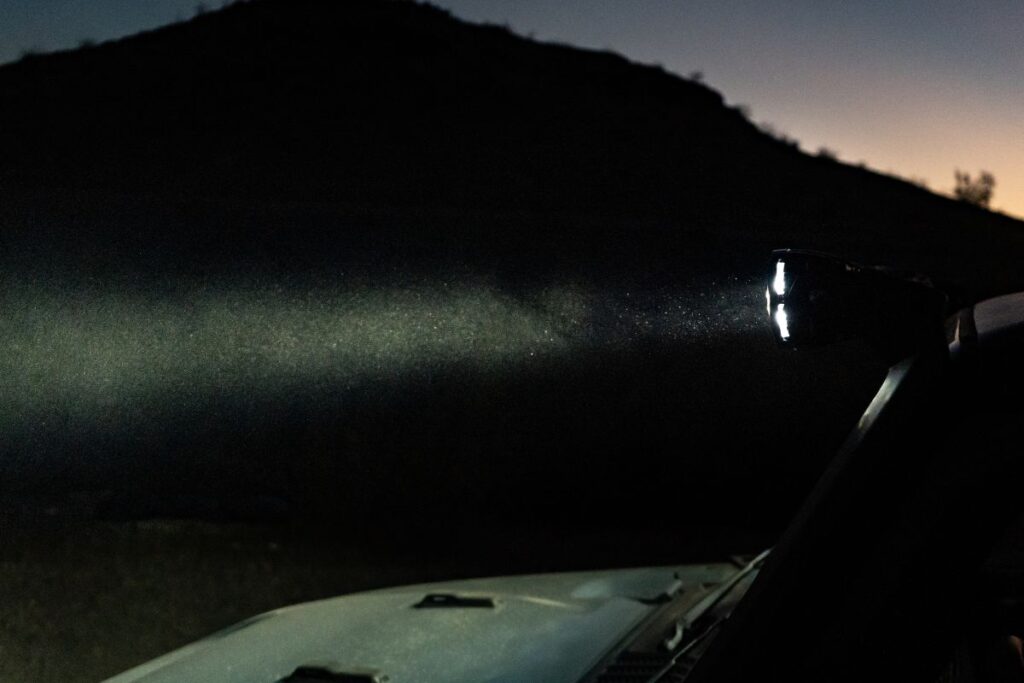
Night time Driving Considerations
There are multiple considerations to make your next night run more enjoyable. Let’s look at how you can own the night with the proper lighting setup.
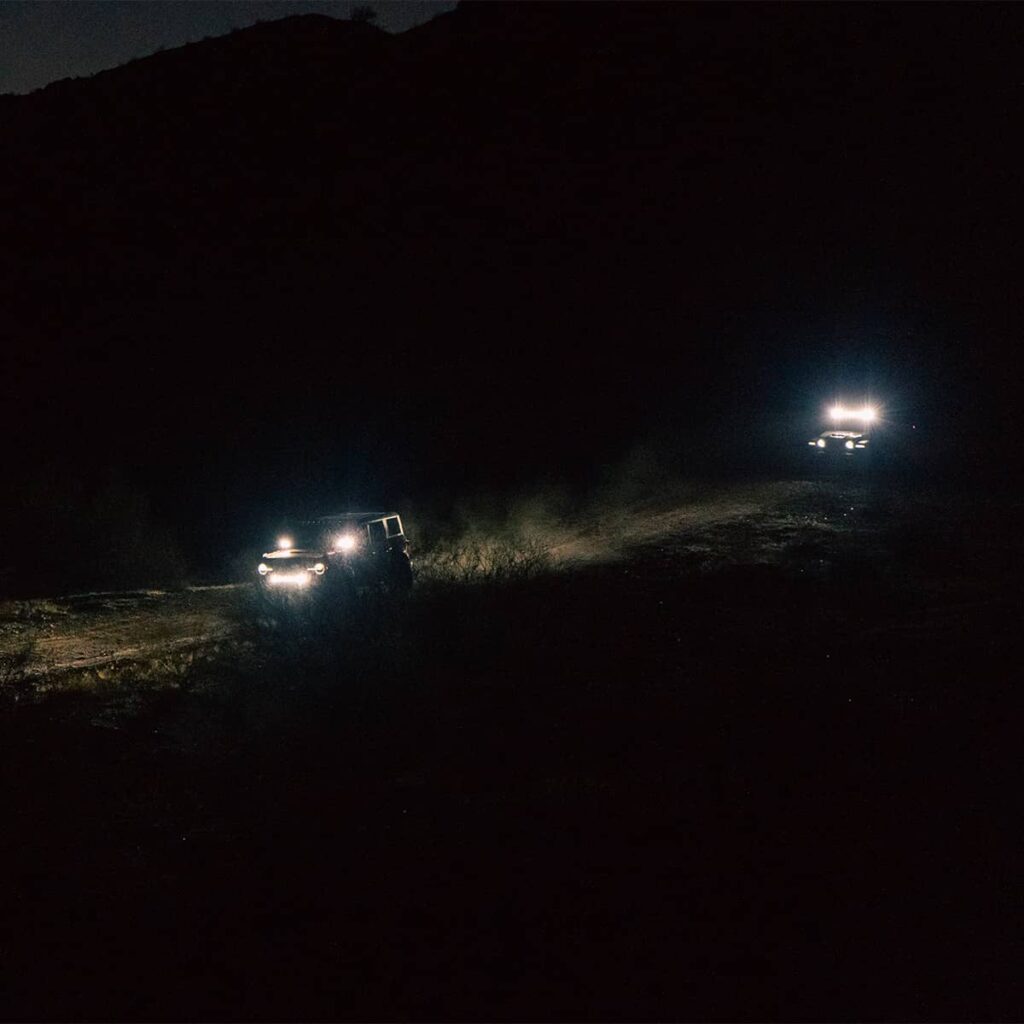
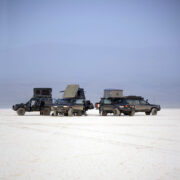
Bump-gobbling and horsepower-happy Trophy Trucks are amazing examples of American awesomeness. Sadly, most of our vehicles are nowhere near capable of generating the immense speeds that Trophy Trucks can in almost any terrain. We aren’t saying this to cause overuse of sad-face emojis, but we all have to be realistic about what speeds we are actually traveling at night.
That speed, combined with the type of terrain we are traveling over, will heavily influence the type of lights we need. Not being realistic about our needs leads to mismatched lighting that is unsuitable for the application.
Speed, combined with the type of terrain we are traveling over, will heavily influence the type of lights we need
Common Beam Patterns
Being realistic about speeds and terrain is crucial because it dictates what beam patterns will work best. Beam patterns can sometimes be confusing because the same style of light is usually offered in multiple beam patterns. However, we will break it down so you can easily select the right pattern.
We will stick with beam pattern terms from RIGID Industries here because their product line incldes all light types we need for ilustration, but for the most part, the terms crossover to other brands of lights.
Here are the patterns you need to know:
Scene/Flood
Scene is RIGID’s term for a flood beam pattern. With a focus on creating a wide arc of light rather than distance, flood lights are great for work sites or anywhere up-close illumination is needed. While flood lights are often overlooked for vehicle applications, their broad beam patterns are ideal for slow-speed work. If you spend a lot of time in low range at night, scene or flood beam lights are ideal.
Driving Lights
Driving lights are also known as combination or combo beam pattern lights. They use a mixture of lenses to throw light further in the center of the beam pattern for higher-speed driving while still producing a wide arc of light. While they don’t throw light as far as a spot beam or as wide as a scene light, they hit the sweet spot between the two, making them perfect for most applications.
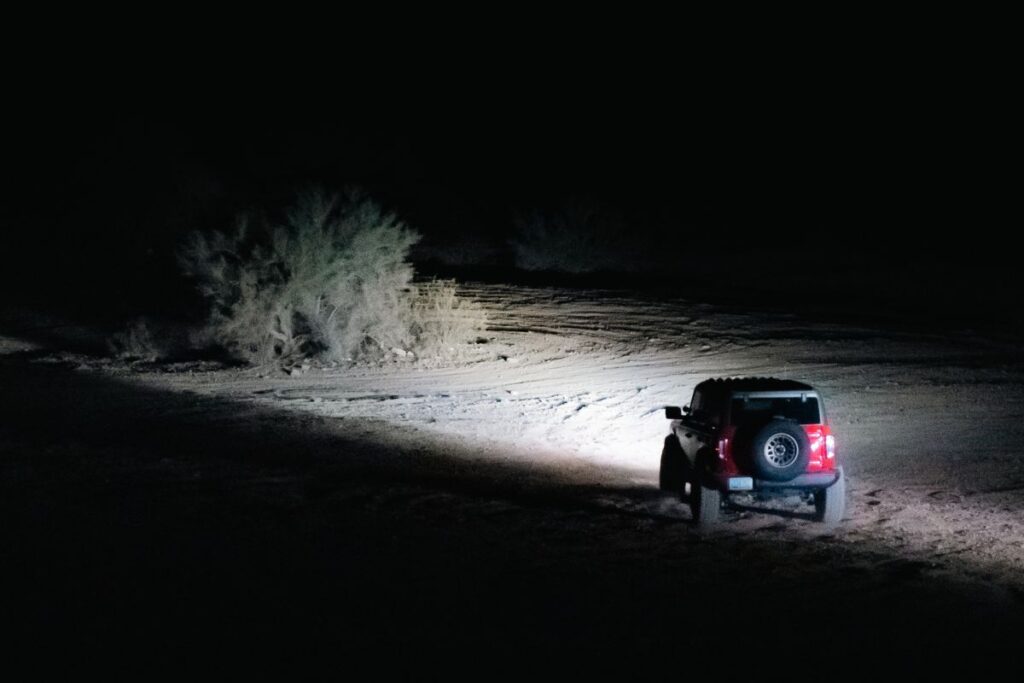
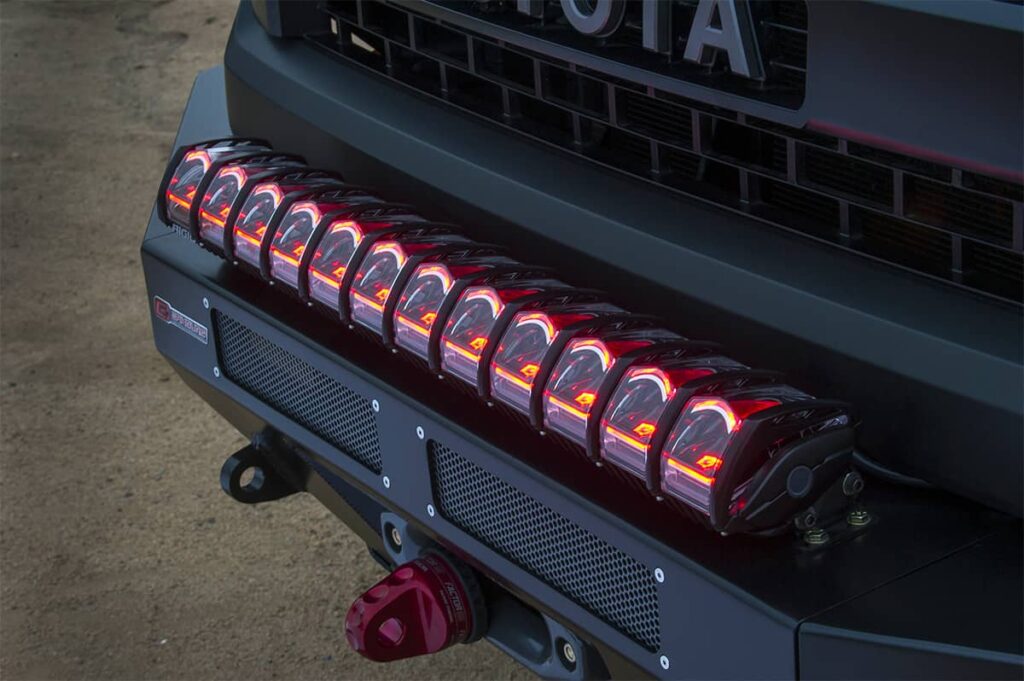
Spot Beams
Spot beams have one mission in life: to project light as far as possible. This focus on distance produces a much narrower but longer beam pattern. They are best reserved for those moving seriously fast in the desert who need to see far ahead.
Mounting Locations
Where you mount lights also makes a difference. Like everything in life, each mounting location has gives and takes. Where you can mount lights and their size also varies depending on the vehicle. However, here are the most common locations and what to consider for each one:
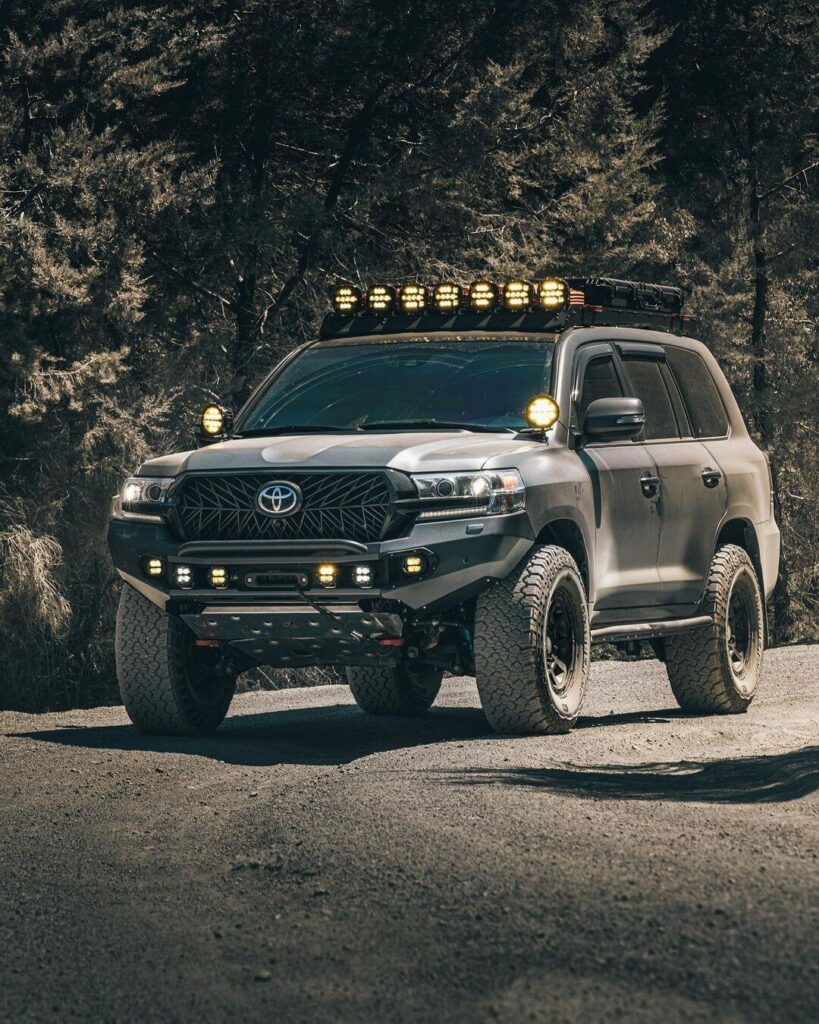
Roof or Roof Rack
There is almost always plenty of room for larger lights here. Lights mounted higher up can also throw light a further distance because of science, making it a good location for spot beams. The drawbacks are that wind noise and routing wiring cleanly can be challenging. Hood glare is also a real consideration, depending on the color of your vehicle.
Front Bumper
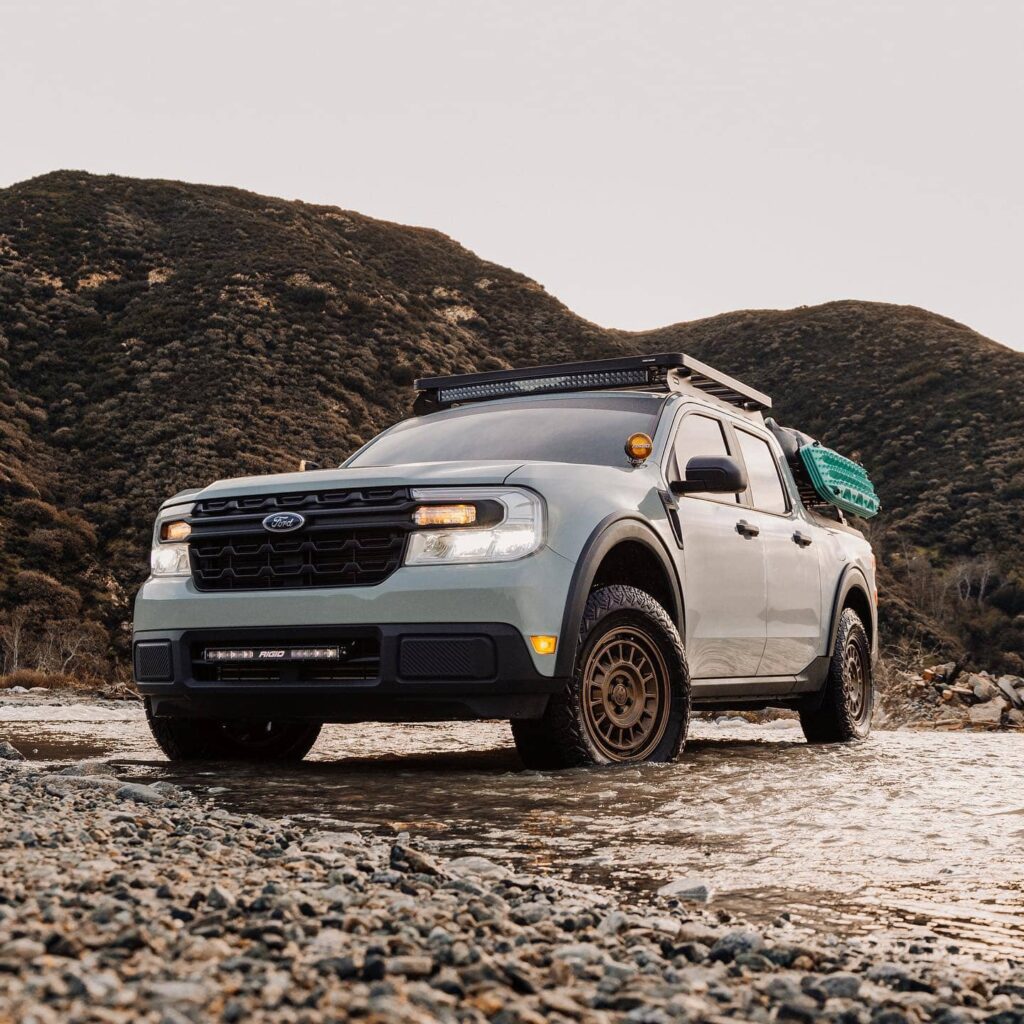
The OG mounting location for lights is a great spot. Many mounts now exist for popular models to tuck lights cleanly into factory front bumpers, and aftermarket front bumpers almost always come with built-in light mounts. Narrower options like some Jeep bumpers can limit light size, and you need to ensure there is still ample airflow to the radiator. Other than those two considerations, the front bumper is a solid option.
Ditch Lights
Ditch lights aren’t just for overlanders; they are perfect for creating a broader field of light. The key is to aim ditch lights to the side of a vehicle instead of straight ahead. We suggest smaller lights, like RIGID D-Series lights in a flood beam pattern, for ditch light applications.
Factory Locations (Fog lights etc.)
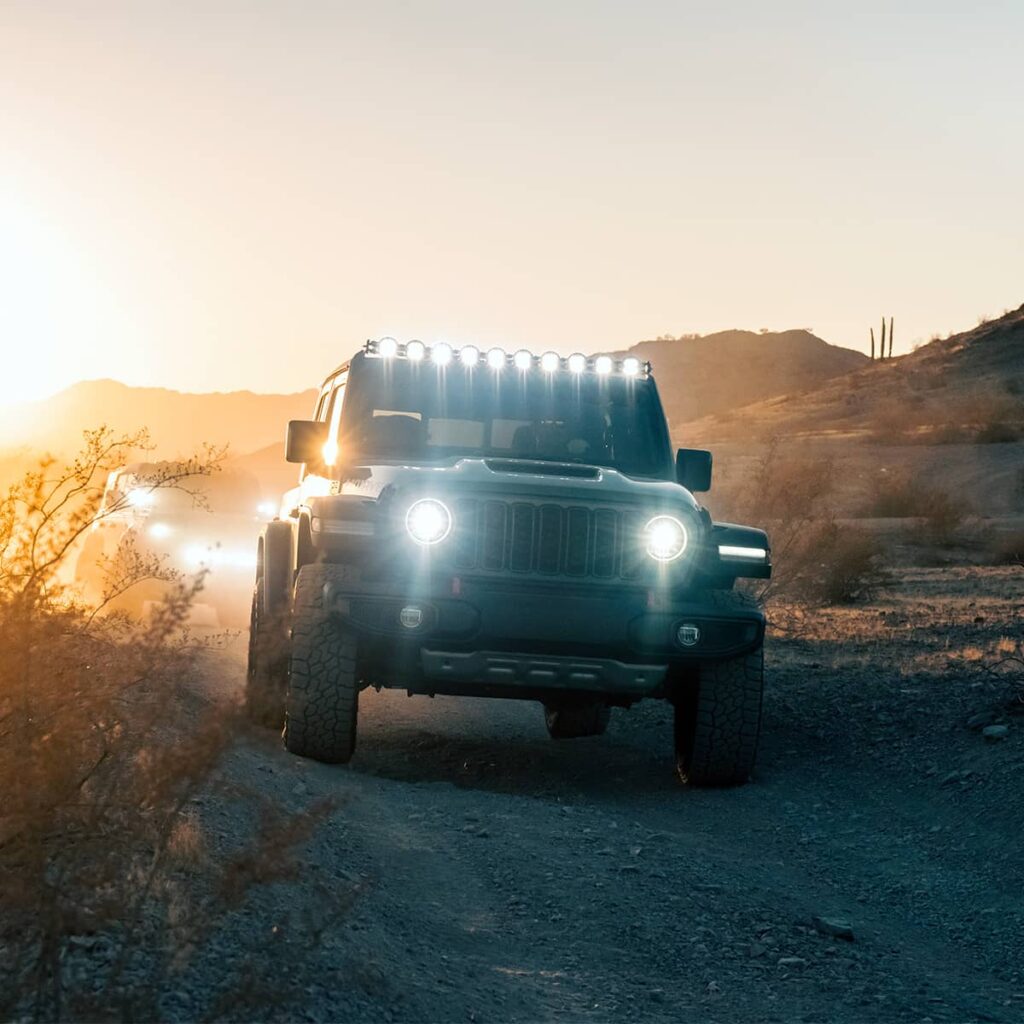
Remember to upgrade the factory lights on your vehicle. RIGID makes an assortment of lights and mounts to replace weak factory fog lights with ones that produce significantly more lumens. Some factory non-LED headlights, like those on Jeeps, are notoriously bad, making them ideal candidates for an upgrade.
The Perfect Light Combo
Proper nighttime off-road illumination requires creating a very broad beam pattern (ideally 180 degrees or more) with enough depth to match your vehicle’s speed. Typically, this is a lot to ask of one light, so it usually requires a mixture of them (RIGID’s Adapt lights are the exception to this).
Here is the “recipe” we follow to get the best results for general-purpose wheeling regardless of the vehicle:
The Center Light
This is the biggest light and provides the bulk of your lumens. It might be mounted on the top of your windshield, a roof rack or the front bumper. We always go for the largest light we can fit without going completely overkill (there is no need to double-stack 50-inch light bars) for the application. A combo/driving beam is the best bet for your center light.
Fog or Dust Lights
Two fog or dust lights, either in the factory locations or mounted to a shiny new bumper, support your center light. These lights should be in a flood, fog or SAE beam pattern to fill the area directly in front of your vehicle with light. We always use amber or yellow lights here for better visibility in dust or inclement weather.
Side Lights
Now that our beam pattern has depth with our center light and fogs filling the area directly in front of us, it is time to broaden it as much as possible. Ditch lights are perfect for this, mounted in their typical location on the sides of the hood. People are sometimes shocked when we run our ditch lights at a 45-degree angle from the hood, but this is how you create a wide arc of light. Flood beams work best here.
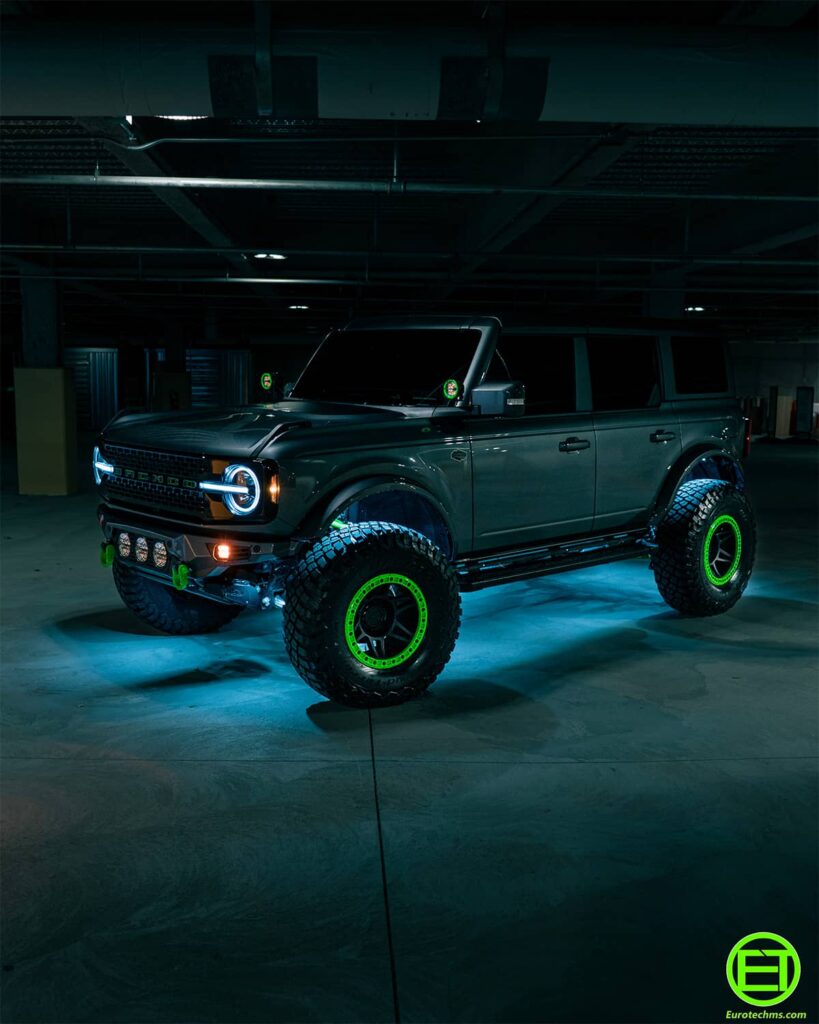
Rock Lights
The recipe above works great for creating a beam pattern that is broad and deep enough for most off-road situations. However, tire placement is critical for low-speed technical trail work. Without lights shining directly downward, determining exactly where your tires are can be difficult at night. This is where rock lights, like RIGID’s Six-Light Rock Light Kit, come in clutch. Mounted in wheel wheels, on sliders or even bumpers, they can provide light right where you need it.
Rock lights can be handy even if you are not into crawling. Sticking them in wheel wells is excellent for providing illumination for changing a flat or a trial repair. Other options include under the hood, on the sides of racks and the inside of camper shells. We have even seen them used as interior lights. Their small dimensions let them be mounted almost anywhere you can think of.
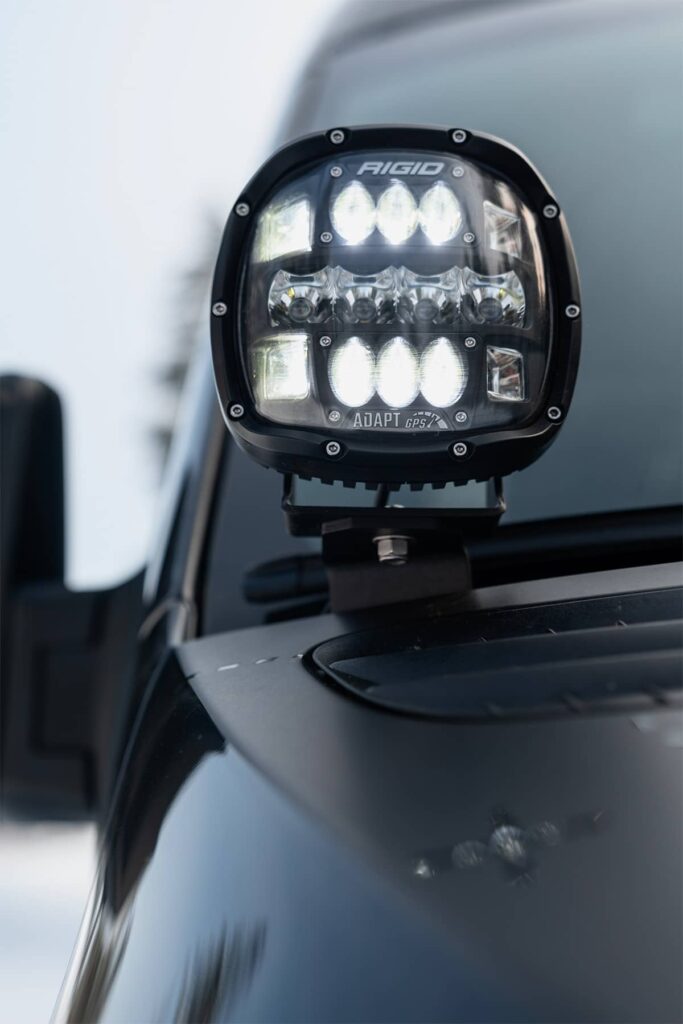
OG Round Lights
Most people think of LED light bars when it comes to off-road illumination. However, circular lights are making a comeback. If you are over the “bar scene,” there are newer round options like RIGID’s 360-Series that come in either 4 or 6-inch diameters and multiple beam pattern options. Just remember to mix and match beam patterns for that perfect field of light.
Lumens
Lumen output is one of the most important metrics to look at when choosing lights for your rig. This measurement directly indicates the amount of visible light emitted by the unit, indicating how bright your lights will appear on the trail.
Higher lumen counts usually mean a more powerful illumination, however, it’s important to understand that raw lumen numbers don’t tell the complete story. Beam pattern, light color temperature, and lens quality all influence how effectively those lumens are utilized.
Conclusion
Hopefully, this article has been illuminating (horrible pun intended), and you have learned something. Remember, the “formula” for lighting described above isn’t set in stone, and you can always add more lights if desired. However, it has worked on many project vehicles that get serious off-road use over the years, and we think it will work for you.